Learning About Vermicomposting
Last Updated on December 17, 2018 by Annie Bernauer
Last weekend we embarked on a new adventure in vermicomposting, or becoming “worm farmers” as Little A likes to say! We bought a large bin of approximately 4,000 Red Wigglers worms. I’d been thinking about getting worms for the last few months, but it wasn’t on my priority list so didn’t give it much thought. Then I happened to see an ad on Craigslist for a bin of Red Wigglers. We were the first to respond to the ad so drove into town and bought them. I really wasn’t too sure how to take care of them since this was such a spur of the moment purchase. I hadn’t had time to do any research like I normally do before jumping into a new project. Luckily vermicomposting is pretty simple to learn!

Some of you may have never heard of vermicomposting or may be wondering why we wanted to become “worm farmers”. The number one reason is to make compost. We have a compost tumbler bin but it is rather slow in making compost. We can’t have an uncovered pile of compost with food scraps in it because we already have an overpopulation of mice. Plus, when we tried a fenced in compost pile on the ground, the dogs always managed to get in and eat it too!
Our compost tumbler bin also freezes for about six months out of the year so our compost making has been rather slow. With a new 7,000 square foot vegetable garden, we desperately need compost. And lots of it. What we don’t have is a lot of money to spend on buying a big truck load of compost. Instead we decided to make a smaller investment in a bunch of Red Wigglers worms.
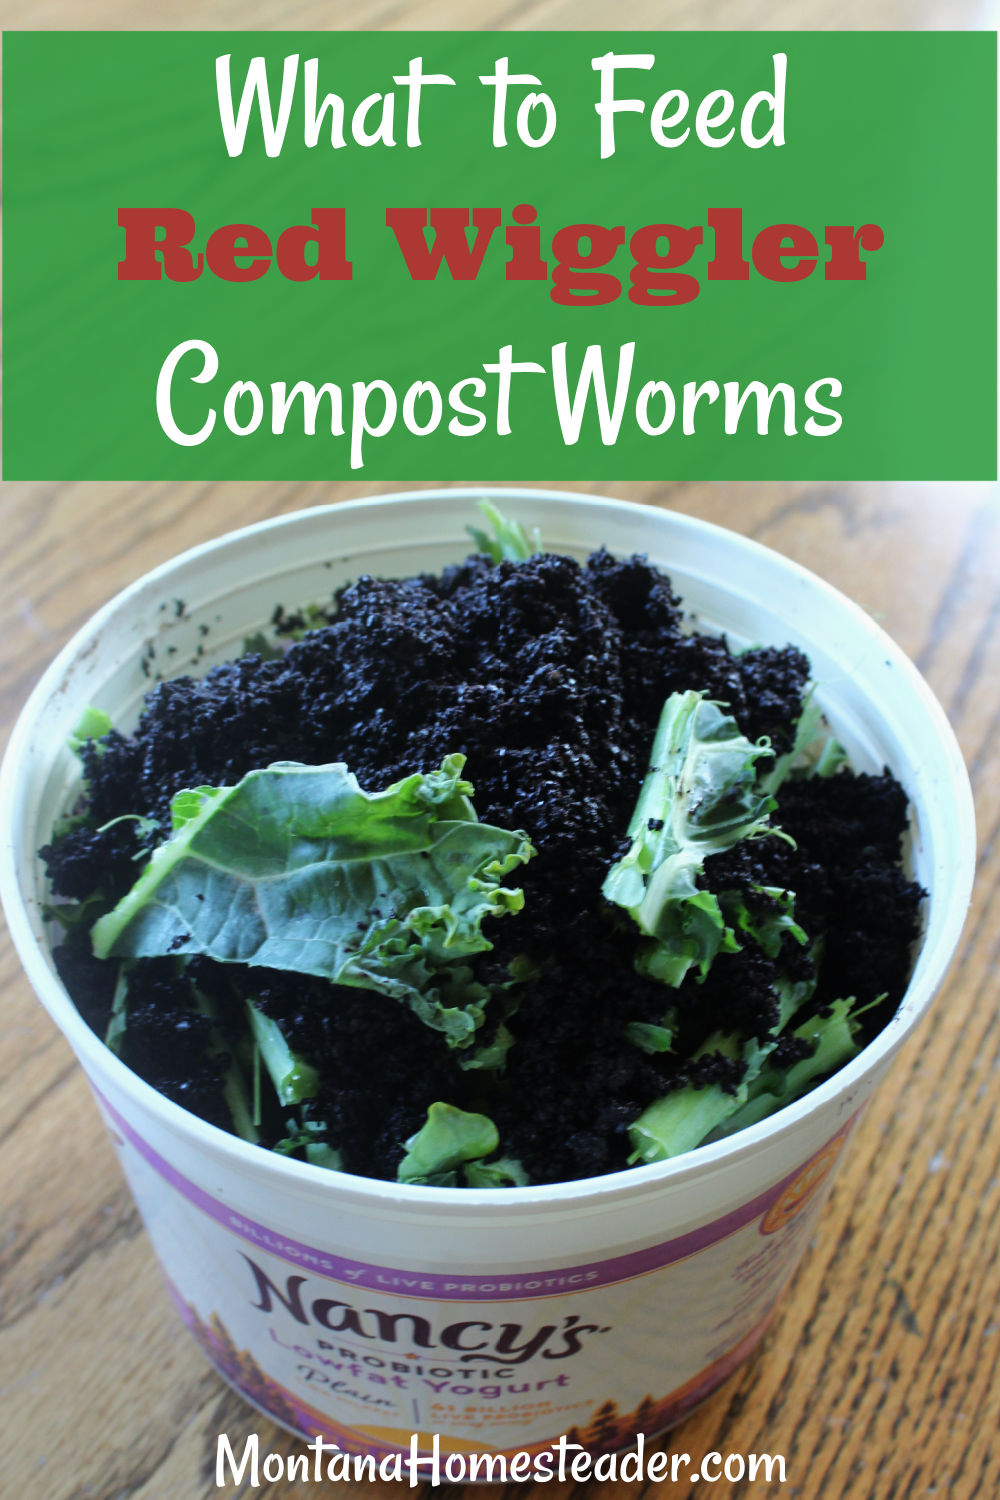
We can “feed” the red wigglers kitchen scraps, shredded paper, and garden waste like weeds. They will consume it and their castings (basically their poo) is the leftover compost. Sounds pretty simple right? I’ve even heard from a bunch of folks who keep their worm bins in the house and even in the kitchen! That’s the other benefit of vermicomposting, it typically doesn’t have the same potential odors of a traditional compost bin.
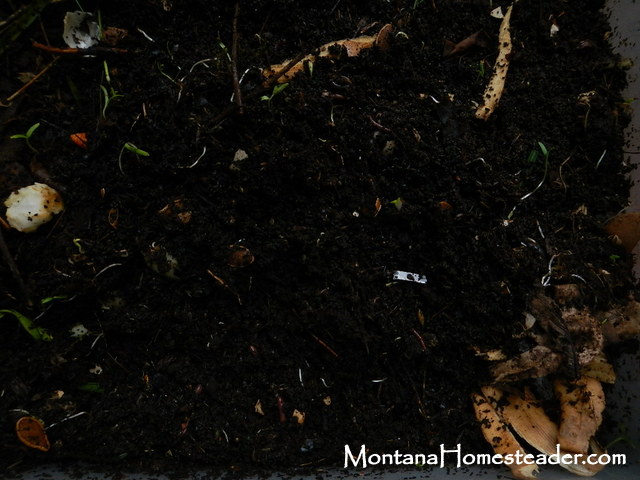
Here’s a peek inside our worm composting bin. We had just added some sweet potato peels which I probably could have chopped a little smaller. Either way, the worms will eventually consume them!
I remember my dad raised worms when I was a kid. He raised night crawlers, mainly to use for fishing in the many creeks and lakes around where we lived. My memories of this are vague, but what I do remember is a big wood crate on the dirt floor cellar of our old farm house. We weren’t a coffee drinking family, so I remember my Grandparents saved their coffee grounds for us to put in the worm bin. My mom was a homemade from scratch cooker in the kitchen so we always had plenty of food scraps to feed the worms. I don’t remember much about my dad’s worm farming adventures so for me this new adventure feels like starting from scratch with my learning.
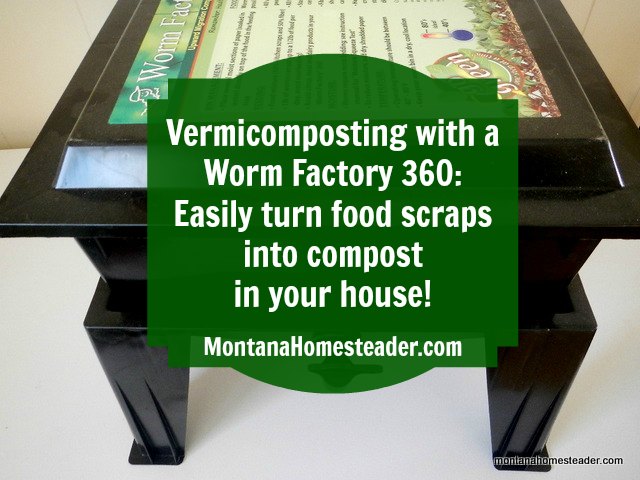
Our worms are in a plastic tub with a lid. There are holes drilled in the lid for ventilation. There are a few holes drilled in the bottom to allow excess moisture to leak out. Because there are holes in the bottom, I sat the plastic tub on top of two bricks to elevate it off the ground. This thing isn’t very fancy but it works. One day I would love to get one of these snazzy things since it looks like it would be easier to harvest the compost.

I asked around the homestead blogging community to see if anyone else did vermicomposting. I was thrilled when I connected with a couple other “worm farmers”. These folks are a wealth of information and have been so helpful in this new adventure! Here are the articles we read so far:
- Worm Composting 101 from Your Gardening Friend. This was the most comprehensive list of information with links to numerous vermicomposting articles she wrote.
- Worm Bins vs Worm Towers: Vermicomposting Methods Explained from Homestead Chronicles
- Vermicomposting- I’m a Worm Overlord from Gentleman Homestead Consulting
- Red Wigglers vs Earth Worms in Vermicomposting from Pint Size Farm
- Vermicomposting- Making Worms Do the Work from Pint Size Farm
We have our worm bin on the covered back porch for now. We were going to put it in the shop, but until it warms up more we thought the porch was a better option. Plus Little A and I love going out to “feed the wormies” and check on their progress. We also plan to sacrifice a few worms for Little A to go fishing in a nearby pond with her Snoopy fishing rod. Maybe our worms will also help us catch some fish to eat!
This post shared on: Homestead Barn Hop, Green Thumb Thursday, The HomeAcre Hop, From the Farm Blog Hop,


I have done vermicompost the past couple years! I keep ours in the basement. You’ve just reminded me that I want to build a second bin this summer. Thanks for the reminder! 🙂
I didn’t know you were a “worm farmer” too! I wish we had a basement to keep ours in, we just have a dirt floor crawl space under the house. I don’t want to put them down there since it wouldn’t be as easy for us to feed them and check them out- Little A LOVES to feed her wormies and check on them!
I have raised worms inside my kitchen more than once. I finally moved them outside in a plastic compost bin. People don’t realize that they don’t smell, and are so easy to grow. When I had them indoors, all I ever put in there was used coffee and tea grinds, nothing else, not even dirt. They were in a container like you have. As long as the lid was on it, I didn’t have to wet it. In fact some times I had to take the lid off for it to dry out some. And to start out, all I did was added the leftover worms from the ones I bought for fishing. If you need any other info on raising them, feel free to contact me. I’m enjoying your posts. We have plans to move to Montana as soon as we can.
Julie
I Create Purty Thangs
Thank you for sharing about your experience Julie! Now that it is warming up outside, I think our back covered porch might be too warm for the worms and the shop actually is too warm too. I was thinking about bringing them inside but the current bin with food scraps has fruit flies. I started collecting a bucket of coffee grounds, tea leaves, and greens to start a new bin inside during these hot summer months. I wasn’t sure if having a lot of coffee grounds was ok but it sounds like it worked fine for you!
Coffee – I became a worm farmer by accident – I have a series of compost bins intended for organised turning which almost never happens They get vegetable scraps, goat poo, some gras clippings and spoiled hay/bedding and an amazing quantity of coffee grounds. The worms appeared from nowhere as volunteers. I don’t think coffee could hurt them at all – maybe just encourage them to work a little faster. I’m now careful when I do shift the compost so as not to hurt them. It’s probably a little warmer here than in Montana – today is the shortest day of winter, and I’m wearing a tee shift and bare feet – this has been a very mild winter in the South Wairarapa,, New Zealand. [August is our cruelest month].
All the best, Heather
We’ve had our bin for almost two years now. At first I had too much ventilation and everything dried out too quickly. I covered a few holes with duct tape and everyone is happily munching away now!
Thanks for sharing that Mike! I noticed our bin was drying out fast and I wonder if it is because there are so many air holes on top. I go out and spritz the bin down with water every day or two. Maybe I’ll try covering some of those holes and see if it stays wet longer.
I have two worm bins , calling them condo one and condo two. Having an ant invasion when they were outside, they are permanent fixtures in my kitchen now. I have discovered they do not like onions or any citrus fruit, other than that they are hearty eaters. No smell at all, I feed them regularly and remove the wonderful compost often!
Ha I love it- condo one and condo two! I had read they don’t like citrus or onions/garlic so I’ve been trying to remember that in the kitchen. It makes it a little tricky having two separate little tubs in the kitchen for compost- one that goes to the worms and one that goes out to our compost bin outside!
I have been considering becoming a worm farmer too. I will be interested in any updates you have and will check out the links.
That’s wonderful Sue! We’ve had them a couple weeks now but haven’t yet harvested any compost. I’ll be sharing a post about that when we do so stay tuned!
I was just thinking about doing this yesterday! I’ll do a bit more research before I commit. Just started on my homesteading journey so there are a lot of things to learn and do!
Thanks for sharing this at Green Thumb Thursday, Annie! I keep kicking around the idea of worms. Ha – that sounds funny!
Thanks for sharing! This was chosen as a favorite on From the Farm blog hop!
I started our worm farm on Mothers Day weekend. I was afraid of getting too many worms so I started with only 250. I should have started with at least 1000. From what I have read they are suppose to double about every 3 months. Even with my OCD I amnot going to count them to find out! I am hoping toget lots of poo to work into the gardens next year. How are youplanning on saving your poo during the winter?
Hi – thanks for the info! I found your blog after searching Facebook for vermicompost Montana. I’m looking for some red wriggler worms. Any chance you’d be willing to sell me some? (Or give me tips on where to find some. ) Thanks!
I apologize I did not respond earlier, we were still unpacking after our recent move and I was taking a break from blogging. I do sell red wiggler worms. We are in western MT, let me know if that’s where you are and we can figure out meeting up so you can get some worms. Thanks!